PixelFlow allows you to use all these features
Unlock the full potential of generative AI with Segmind. Create stunning visuals and innovative designs with total creative control. Take advantage of powerful development tools to automate processes and models, elevating your creative workflow.
Segmented Creation Workflow
Gain greater control by dividing the creative process into distinct steps, refining each phase.
Customized Output
Customize at various stages, from initial generation to final adjustments, ensuring tailored creative outputs.
Layering Different Models
Integrate and utilize multiple models simultaneously, producing complex and polished creative results.
Workflow APIs
Deploy Pixelflows as APIs quickly, without server setup, ensuring scalability and efficiency.
Face to Sticker
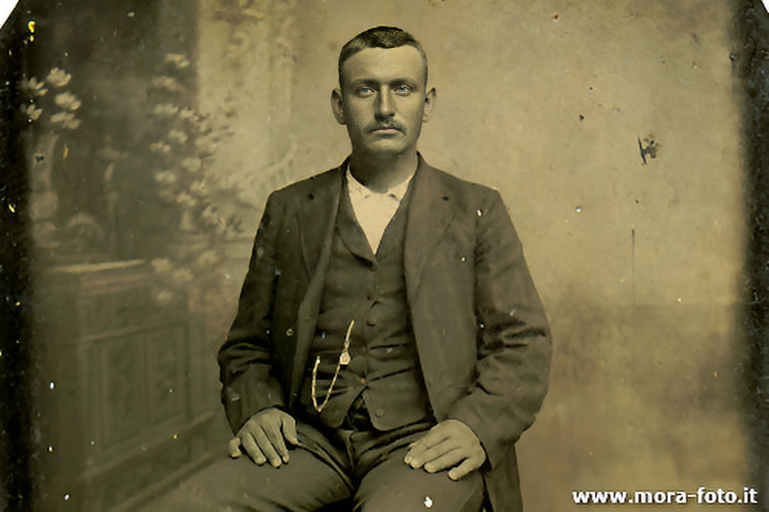
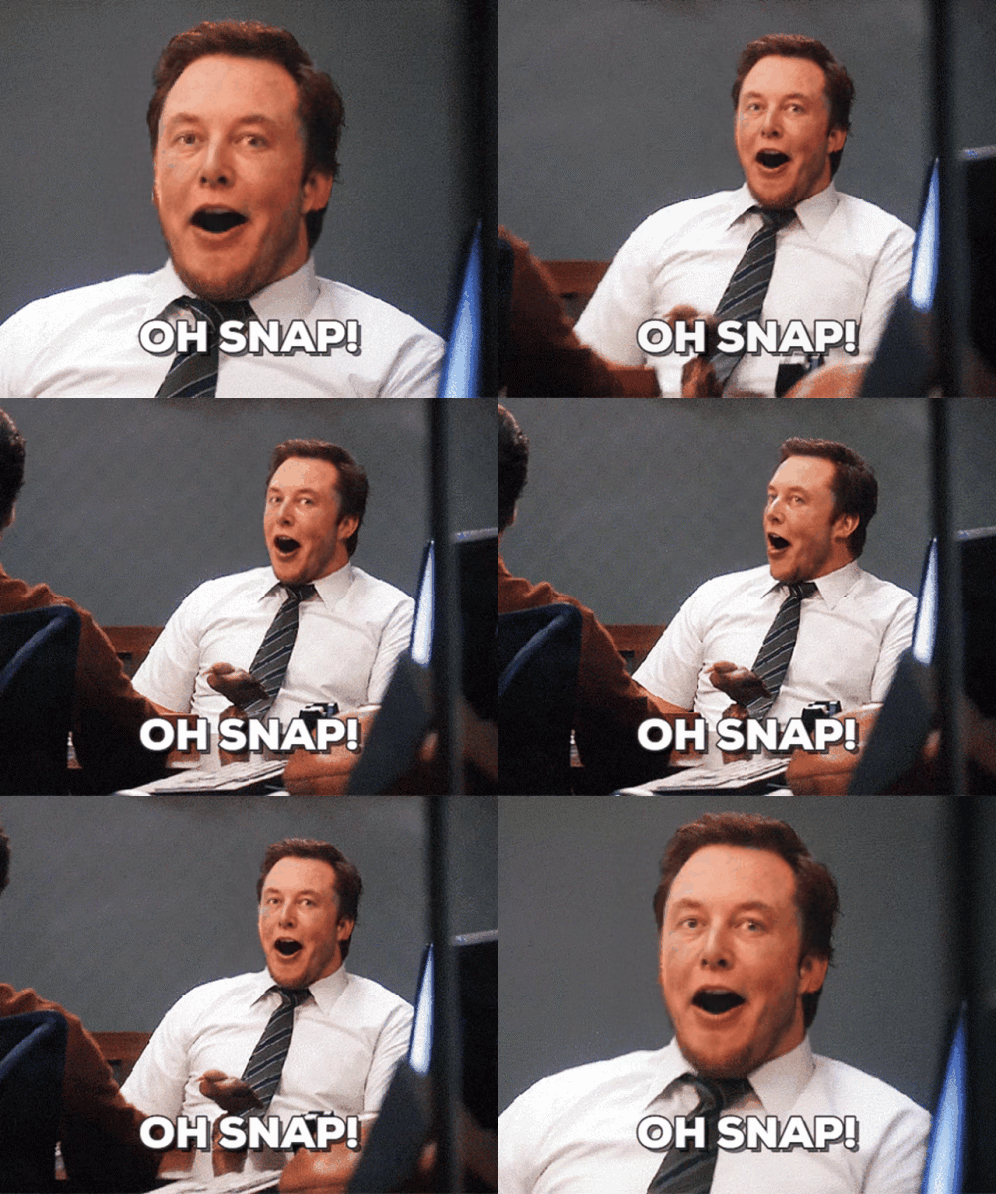
Face to sticker model takes an image of a person and creates a sticker image. This is based on style transfer, where essentially the sticker style is created for an input image of a person. The output is a new image that looks like a sticker but retains the facial features of the person in the input image. This model helps in the creation of personalized stickers from just about any image of a person.
Key Components of Face to Sticker
Under the hood of Face to sticker model is a combination of Instant ID + IP Adapter + ControlNet Depth + Background removal.
-
Instant ID is responsible for identifying the unique features of the face of the person in the input image.
-
An image encoder (IP Adapter) helps in transferring the sticker style on to the face image of the person in the input image.
-
ControlNet Depth estimates the depth of different parts of the face. This helps in creating a 3D representation of the face, which can then be used to apply the sticker style in a way that looks natural and realistic.
-
Background Removal removes the background, resulting in a clean sticker image.
How to use Face to Sticker
-
Input image: Choose an image that you want to transform into a sticker. A close-up portrait shot is ideal because it allows the model to clearly identify and process the facial features.
-
Prompt: Provide a text prompt based on the input image. This could be a simple description of the person in the image, such as “a man” etc. The model uses this prompt to guide the style transfer process.
-
Parameters: Adjust the below parameters to guide the final image output.
a. Prompt Strength: This parameter is similar to the CGF scale. It determines how closely the image generation follows the text prompt. A higher value will result in an output image that more closely matches the prompt.
b. IP Adapter Noise: This parameter determines the degree of influence of the sticker style. A higher value will result in a more stylized output image
c. IP Adapter Strength: This parameter determines the weight of influence of the sticker style. A higher value will result in a stronger application of the sticker style to the output image.
d. Instant ID strength: This parameter determines how closely the output image resembles the person in the input image. A higher value will result in an output image that more closely resembles the input image.
Other Popular Models
illusion-diffusion-hq
Monster Labs QrCode ControlNet on top of SD Realistic Vision v5.1

face-to-many
Turn a face into 3D, emoji, pixel art, video game, claymation or toy

codeformer
CodeFormer is a robust face restoration algorithm for old photos or AI-generated faces.

sd2.1-faceswapper
Take a picture/gif and replace the face in it with a face of your choice. You only need one image of the desired face. No dataset, no training

